GitLab是利用 Ruby on Rails 一个开源的版本管理系统,实现一个自托管的Git项目仓库,可通过Web界面进行访问公开的或者私人项目。它拥有与Github类似的功能,能够浏览源代码,管理缺陷和注释。可以管理团队对仓库的访问,它非常易于浏览提交过的版本并提供一个文件历史库。团队成员可以利用内置的简单聊天程序(Wall)进行交流。它还提供一个代码片段收集功能可以轻松实现代码复用,便于日后有需要的时候进行查找。

官网写的安装已经很全面,后面基本都是web可视化操作,考验Git能力,我这里就照抄下来啦。

Centos 6.7 Install Gitlab

1. Config git info

1
2
3
4
5
6
7
[root@gitlab-machine ~]# git config --global user.name "whoami"
[root@gitlab-machine ~]# git config --global user.email "[email protected]"
[root@gitlab-machine ~]# git config --global color.ui true
[root@gitlab-machine ~]# git config --list
user.name=whoami
[email protected]
color.ui=true

2.Install and configure the necessary dependencies

If you install Postfix to send email please select ‘Internet Site’ during setup. Instead of using Postfix you can also use Sendmail or configure a custom SMTP server and configure it as an SMTP server.

On Centos 6 and 7, the commands below will also open HTTP and SSH access in the system firewall.

1
2
3
4
5
6
7
[root@gitlab-machine ~]#  sudo yum install curl openssh-server openssh-clients postfix cronie

[root@gitlab-machine ~]# sudo service postfix start

[root@gitlab-machine ~]# sudo chkconfig postfix on

[root@gitlab-machine ~]# sudo lokkit -s http -s ssh

3. Add the GitLab package server and install the package

1
2
curl -sS https://packages.gitlab.com/install/repositories/gitlab/gitlab-ce/script.rpm.sh | sudo bash
sudo yum install gitlab-ce

If you are not comfortable installing the repository through a piped script, you can find the entire script here and select and download the package manually and install using

Download RPM Package:
https://packages.gitlab.com/gitlab/gitlab-ce

1
2
curl -LJO https://packages.gitlab.com/gitlab/gitlab-ce/packages/el/6/gitlab-ce-XXX.rpm/download
rpm -i gitlab-ce-XXX.rpm

For example

1
2
3
4
5
6
7
8
9
10
11
12
13
14
15
16
17
18
19
20
21
22
23
24
25
26
[root@gitlab-machine ~]# lsof -i :80|wc -l
0

[root@gitlab-machine ~]# netstat -lntp|grep 80|wc -l
0

[root@gitlab-machine ~]# ls -l gitlab-ce-8.7.0-ce.0.el6.x86_64.rpm
-rwxr-xr-x 1 root root 261779557 May 2 14:06 gitlab-ce-8.7.0-ce.0.el6.x86_64.rpm

[root@gitlab-machine ~]# rpm -ivh gitlab-ce-8.7.0-ce.0.el6.x86_64.rpm
Preparing... ########################################### [100%]
1:gitlab-ce ########################################### [100%]
hostname: Host name lookup failure
gitlab: Thank you for installing GitLab!
gitlab: To configure and start GitLab, RUN THE FOLLOWING COMMAND:

sudo gitlab-ctl reconfigure

gitlab: GitLab should be reachable at http://gitlab.example.com
gitlab: Otherwise configure GitLab for your system by editing /etc/gitlab/gitlab.rb file
gitlab: And running reconfigure again.
gitlab:
gitlab: For a comprehensive list of configuration options please see the Omnibus GitLab readme
gitlab: https://gitlab.com/gitlab-org/omnibus-gitlab/blob/master/README.md
gitlab:
It looks like GitLab has not been configured yet; skipping the upgrade script.

4.Configure and start GitLab

1
2
3
4
5
6
7
8
9
10
11
12
13
14
[root@gitlab-machine ~]# sudo gitlab-ctl reconfigure
Starting Chef Client, version 12.6.0
...omit...
Running handlers:
Running handlers complete
Chef Client finished, 221/300 resources updated in 01 minutes 24 seconds
gitlab Reconfigured!

[root@gitlab-machine ~]# lsof -i :80
COMMAND PID USER FD TYPE DEVICE SIZE/OFF NODE NAME
nginx 2392 root 6u IPv4 83966 0t0 TCP *:http (LISTEN)
nginx 2394 gitlab-www 6u IPv4 83966 0t0 TCP *:http (LISTEN)
[root@gitlab-machine ~]# netstat -lnop|grep 80|wc -l
3

修改gitlab仓库地址

1
2
3
4
5
6
7
[root@gitlab-server data]# cat /etc/gitlab/gitlab.rb |grep git_data
# git_data_dir "/var/opt/gitlab/git-data"
git_data_dir "/data/gitlab/git-data"

[root@gitlab-server data]# sudo gitlab-ctl reconfigure

[root@gitlab-server data]# sudo gitlab-ctl restart

5、Browse to the hostname and login

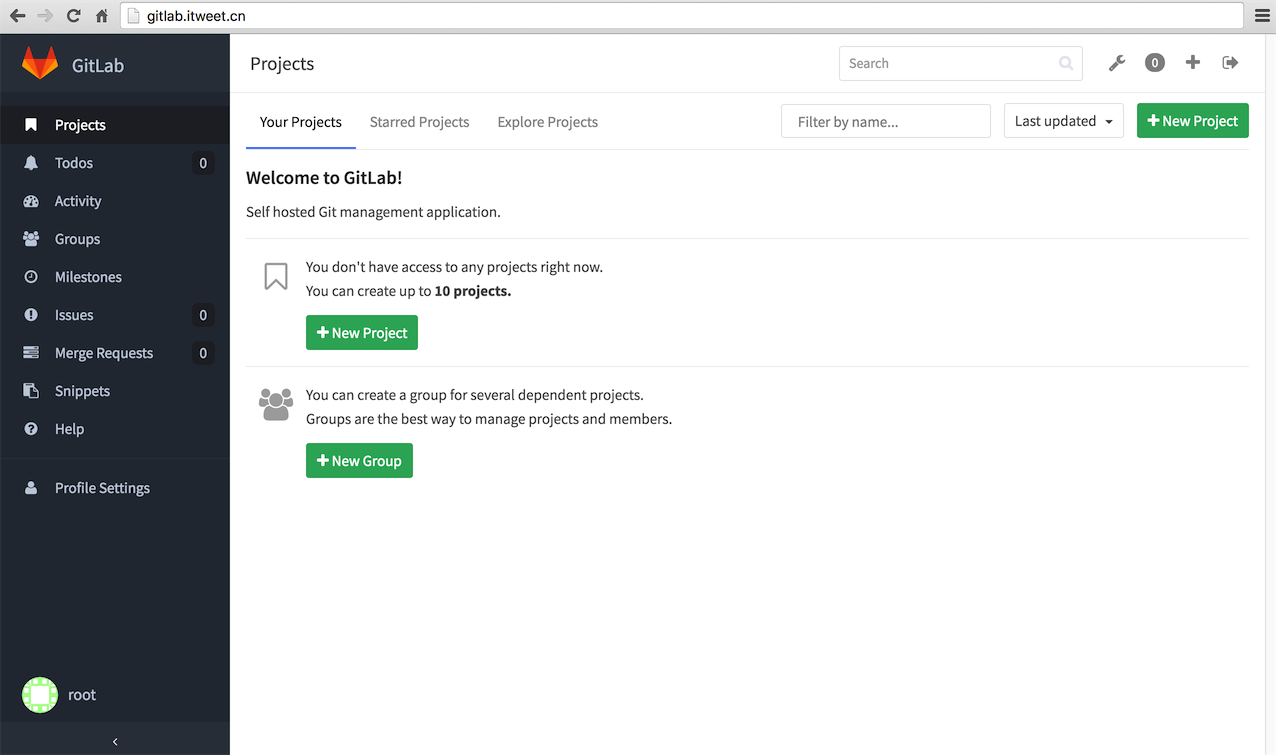
On your first visit, you’ll be redirected to a password reset screen to provide the password for the initial administrator account. Enter your desired password and you’ll be redirected back to the login screen.

The default account’s username is root. Provide the password you created earlier and login. After login you can change the username if you wish.

For configuration and troubleshooting options please see the Omnibus GitLab documentation
If you are located in China, try using https://mirror.tuna.tsinghua.edu.cn/help/gitlab-ce/

访问地址http://gitlab.itweet.cn:80 (需要提前映射好域名和ip地址到hosts文件),第一次访问,提示’Change your password‘页面,你可以输入密码,此密码即为root密码;然后可用此密码登录root用户,比如我这里设置为root/admin123。

6、入门使用

基本都是web可视化操作。这里我简单减少几个概念吧。

6.1 Project 可以发起一个项目,查询当前用户所拥有或者能管理的项目列表

6.2 Users 用户管理模块,管理员可见。

6.3 Groups 组织机构,公司管理;比如一个公司可以开启一个groups下面有很多开发人员。

6.4 Deploy keys 免密码ssh验证,git提交或者拉去代码,可以免密码验证。

6.5 SSH keys

当我们从GitHub或者GitLab上clone项目或者参与项目时,我们需要证明我们的身份。一种可能的解决方法是我们在每次访问的时候都带上账户名、密码,另外一种办法是在本地保存一个唯一key,在你的账户中也保存一份该key,在你访问时带上你的key即可。GitHub、GitLab就是采用key来验证你的身份的,并且利用RSA算法来生成这个密钥。

1
2
3
4
5
6
7
8
9
10
11
12
13
14
15
16
17
18
19
20
21
22
23
24
25
26
27
28
29
30
[root@gitlab-machine ~]# git config --list
user.name=whoami
[email protected]
color.ui=true

[root@gitlab-machine ~]# ssh-keygen -t rsa -C "[email protected]"
Generating public/private rsa key pair.
Enter file in which to save the key (/root/.ssh/id_rsa):
Created directory '/root/.ssh'.
Enter passphrase (empty for no passphrase):
Enter same passphrase again:
Your identification has been saved in /root/.ssh/id_rsa.
Your public key has been saved in /root/.ssh/id_rsa.pub.
The key fingerprint is:
05:07:1c:92:ec:ec:79:cd:09:96:a3:8e:a3:13:bf:e2 [email protected]
The key's randomart image is:
+--[ RSA 2048]----+
| ..o+o. |
| o..o |
| o .. |
| o =. |
| . +S= . |
| . + . + |
| o o . |
| o + . |
| .E+.o |
+-----------------+

[root@gitlab-machine ~]# cat .ssh/id_rsa.pub
ssh-rsa AAAAB3NzaC1yc2EAAAABIwAAAQEAtWly2W39tM88fNrPHDoutQUe/iZZonOs/Qf8ZVxF+Kyivj8PrvlR83MmPoBbGwF/YOn5EHROEBy2EAFCHk+zQZ9uHJlsRF4EU6Aq5yZBfOTA8erdllDIy25BLITAhNe4AXmcGKJMl/TmNBWmN5+GjmTyL5l85+hMTUM3cUT8WVhPDFGlm+3UPh1AwptlDOe+t0XX6dl39BZ3i1CTmh+X38Q1K7RHkIjSSeUZQANGzJlfENQqse/zhENvUftk4EwRXL6+RIPwdk+ijAvnKGIwIfSx75u51E29jvvnP8FidU0HnBsbbedFg6cWlnMj/6AgXxnP22skmEBRAlRb7qO/zQ== [email protected]

添加,id_rsa.pub到ssh keys 页面,即可完成认证。如下验证:

1
2
3
4
5
6
7
8
9
10
11
12
13
14
15
16
17
18
19
20
21
[root@gitlab-machine data]# git clone [email protected]:xujiang/test.git
Initialized empty Git repository in /data/test/.git/
The authenticity of host 'gitlab.itweet.cn (192.168.1.125)' can't be established.
RSA key fingerprint is d4:2d:bb:87:cf:41:ff:fd:64:b7:66:56:45:f2:d1:64.
Are you sure you want to continue connecting (yes/no)? yes
Warning: Permanently added 'gitlab.itweet.cn,192.168.1.125' (RSA) to the list of known hosts.
remote: Counting objects: 6, done.
remote: Compressing objects: 100% (4/4), done.
Receiving objects: 100% (6/6), 4.30 KiB, done.
remote: Total 6 (delta 0), reused 0 (delta 0)

[root@gitlab-machine data]# pwd
/data

[root@gitlab-machine data]# tree
.
└── test
├── LICENSE
└── README.md

2 directories, 2 files

For Examples

1
2
3
4
5
6
7
8
9
10
11
12
13
14
15
16
17
18
19
20
[root@gitlab-machine data]# cd test/

[root@gitlab-machine test]# cat hello.py
#!/usr/bin/python
print("hello itweet.cn!")

[root@gitlab-machine test]# git add hello.py

[root@gitlab-machine test]# git commit -m 'first python script...'
[master 25bddfa] first python script...
1 files changed, 2 insertions(+), 0 deletions(-)
create mode 100644 hello.py

[root@gitlab-machine test]# git push origin master
Counting objects: 4, done.
Compressing objects: 100% (2/2), done.
Writing objects: 100% (3/3), 351 bytes, done.
Total 3 (delta 0), reused 0 (delta 0)
To [email protected]:whoami/test.git
f0eb0f6..25bddfa master -> master

6.6 导入项目可以支持来自多个主流代码托管地,可以是本地初始化项目。


导入成功后,基本上可以看到,所有的github相关的代码,版本都会获取过来。包括社区全部完整的信息。更多功能参考:https://about.gitlab.com/gitlab-ce-features/

Git GUI

  • Git-scm: https://git-scm.com/downloads

  • SourceTree: https://www.sourcetreeapp.com/

    • SourceTree 是 Windows 和Mac OS X 下免费的 Git 和 Hg 客户端,拥有可视化界面,容易上手操作。同时它也是Mercurial和Subversion版本控制系统工具。支持创建、提交、clone、push、pull 和merge等操作。

Markdown format document

For windows:

For Mac:

FAQ

  • I. 如果提示:“You won’t be able to pull or push project code via SSH until you add an SSH key to your profile Don’t show again | Remind later”
    解决:需要本地配置.ssh免密码登录,可以通过ssh隧道git clone项目,效率会高得多。

  • II. Gitlab 项目地址不对,希望是自己的域名地址,如:“[email protected]:itweet.cn/hadoop.git”,希望是:“[email protected]:itweet.cn/hadoop.git”

解决:

1
2
3
4
5
6
7
[root@gitlab-machine ~]# sudo vim /etc/gitlab/gitlab.rb 
## external_url 'http://gitlab.example.com'
external_url 'http://gitlab.itweet.cn'

[root@gitlab-machine gitlab]# sudo gitlab-ctl reconfigure

[root@gitlab-machine ~]# sudo gitlab-ctl restart
  • III. Email发送邮件失败

需要发送邮件的用户,比如使用qq发送,需要SMTP settings,并且发邮件用户开启smtp/impi功能。

For examples

1
2
3
4
5
6
7
8
9
gitlab_rails['smtp_enable'] = true
gitlab_rails['smtp_address'] = "smtp.exmail.qq.com"
gitlab_rails['smtp_port'] = 465
gitlab_rails['smtp_user_name'] = "[email protected]"
gitlab_rails['smtp_password'] = "password"
gitlab_rails['smtp_authentication'] = "login"
gitlab_rails['smtp_ssl'] = true
gitlab_rails['smtp_enable_starttls_auto'] = true
gitlab_rails['smtp_tls'] = false

参考:https://gitlab.com/gitlab-org/omnibus-gitlab/blob/master/doc/settings/configuration.md#configuring-the-external-url-for-gitlab
https://gitlab.com/gitlab-org/omnibus-gitlab/blob/master/doc/settings/smtp.md#smtp-on-localhost
https://www.itweet.cn/2015/07/12/git-manual/
https://help.github.com/desktop/guides/getting-started/