This tutorial will show you how to install VMware Workstation 11 on RHEL 7, CentOS 7, Fedora 21, Debian 7 and Ubuntu 14.10/14.04.

VMware Workstation 11 is a popular software which allows you to run multiple different virtual machines on physical hosts using the concept of Type II of hypervisors (Hosted Hypervisors). This tutorial also discuss some common issues during the installation process.

Step 1: Downloading VMWare Workstation 11

  1. First login into your server as root or non-root user with sudo permissions and run the following commnad to keep your system up-to-date.
1
[root@bigdata-server ~]#  yum update
  1. Next, download the software from VMware official site. You will download script file like “VMware-Workstation-Full-11.0.0-2305329.x86_64.bundle”, by default this script file downloaded without execute permission, so you will need to give it.

  2. After downloading script file, go to the directory which contains the script file and make sure that script file is exist and have default permissions.

1
2
[root@bigdata-server home]# ls -l VMware-Workstation-Full-11.0.0-2305329.x86_64.bundle 
-rw-r--r--. 1 root root 438023042 Nov 23 2015 VMware-Workstation-Full-11.0.0-2305329.x86_64.bundle
  1. Give permission eXecute for all “for security reasons you may need to give the permission for the owner user only NOT for all”.
1
[root@bigdata-server home]# chmod a+x VMware-Workstation-Full-11.0.0-2305329.x86_64.bundle
  1. After setting permission, make sure to check the permissions again.
1
2
[root@bigdata-server home]# ls -l VMware-Workstation-Full-11.0.0-2305329.x86_64.bundle 
-rwxr-xr-x. 1 root root 438023042 Nov 23 2015 VMware-Workstation-Full-11.0.0-2305329.x86_64.bundle

Step 2: Installing VMWare Workstation 11

  1. The installation process follows a straight-forward steps, just issue following command to run the script file.
1
[root@bigdata-server home]# ./VMware-Workstation-Full-11.0.0-2305329.x86_64.bundle
  1. Once the script is running, you see the following window the screen.

Just follow the one screen instructions until “Installation was successful” message appears.

VMware Workstation 11 Serial:1F04Z-6D111-7Z029-AV0Q4-3AEH8

Step 3: Running VMWare Workstation 11

  1. To start the software for fist time you will find some issues as discussed below with fixes. To start the software type vmware in the terminal.
1
[root@bigdata-server home]# vmware

After running above command, you will see this message which notify you to
install gcc compiler and some components. Just press ‘Cancel’ to continue.

  1. Return to the terminal, then lets install “Development tools”.
    1
    [root@bigdata-server home]#    yum groupinstall "Development tools"

vmware add disk 2T && parted partitions

1
2
3
4
5
6
7
8
9
10
11
12
13
14
15
16
17
18
19
20
21
22
23
24
25
26
27
28
29
30
31
32
33
34
35
36
37
38
39
40
41
42
43
44
45
46
47
48
49
50
51
52
53
54
55
56
57
58
59
60
61
62
63
64
65
66
67
68
69
70
71
72
73
74
75
76
77
78
79
80
81
82
83
84
85
parted /dev/sdb 
mklabel gpt
q

#parted sdb
parted /dev/sdb mkpart primary 0 250000 I
parted /dev/sdb mkpart primary 250001 500000 I
parted /dev/sdb mkpart primary 500001 750000 I
parted /dev/sdb mkpart primary 750001 1000000 I
parted /dev/sdb mkpart primary 1000001 1250000 I
parted /dev/sdb mkpart primary 1250001 1500000 I
parted /dev/sdb mkpart primary 1500001 1750000 I
parted /dev/sdb mkpart primary 1750001 2000000 I
parted /dev/sdb mkpart primary 2000001 2199000 I

#create vg
pvcreate /dev/sdb1
pvcreate /dev/sdb2
pvcreate /dev/sdb3
pvcreate /dev/sdb4
pvcreate /dev/sdb5
pvcreate /dev/sdb6
pvcreate /dev/sdb7
pvcreate /dev/sdb8
pvcreate /dev/sdb9

#check partition
parted /dev/sdb
GNU Parted 2.1
Using /dev/sdb
Welcome to GNU Parted! Type 'help' to view a list of commands.
(parted) p
Model: VMware, VMware Virtual S (scsi)
Disk /dev/sdb: 2199GB
Sector size (logical/physical): 512B/512B
Partition Table: gpt

Number Start End Size File system Name Flags
1 17.4kB 250GB 250GB primary
2 250GB 500GB 250GB primary
3 500GB 750GB 250GB primary
4 750GB 1000GB 250GB primary
5 1000GB 1250GB 250GB primary
6 1250GB 1500GB 250GB primary
7 1500GB 1750GB 250GB primary
8 1750GB 2000GB 250GB primary
9 2000GB 2199GB 199GB primary
(parted) q

#create vg
vgcreate vg_dfs01 /dev/sdb1 /dev/sdb2 /dev/sdb3 /dev/sdb4 /dev/sdb5 /dev/sdb6 /dev/sdb7 /dev/sdb8 /dev/sdb9

# create lv
lvcreate -n lv_data01 -L +2000G vg_dfs01

# mkfs lv
mkfs.ext4 /dev/vg_dfs01/lv_data01 -T largefile

# create mount dir
mkdir /data01

# mount
mount /dev/vg_dfs01/lv_data01/ /data01

# check mount
[root@server1 ~]# df -h
Filesystem Size Used Avail Use% Mounted on
/dev/sda1 20G 6.3G 13G 34% /
tmpfs 16G 8.0K 16G 1% /dev/shm
/dev/sda3 72G 509M 68G 1% /data
/dev/mapper/vg_dfs01-lv_data01
1.8T 68M 1.7T 1% /data01

# Add a boot mounted automatically
echo "/dev/vg_dfs01/lv_data01/ /data01 ext4 defaults 1 2" >> /etc/fstab

# check fstab
[root@server1 ~]# mount -a
[root@server1 ~]# df -h
Filesystem Size Used Avail Use% Mounted on
/dev/sda1 20G 6.3G 13G 34% /
tmpfs 16G 8.0K 16G 1% /dev/shm
/dev/sda3 72G 509M 68G 1% /data
/dev/mapper/vg_dfs01-lv_data01
1.8T 68M 1.7T 1% /data01

Delete VG && LV

1
2
3
4
5
6
7
8
9
10
11
12
13
14
15
16
17
18
19
20
21
22
23
24
25
26
27
28
29
30
31
32
33
34
35
36
37
38
39
40
41
42
43
44
45
46
47
48
49
50
51
52
53
54
55
# 查看卷组(VG)相关信息,如下所示
# vgscan
[root@server1 ~]# vgdisplay -v vg_dfs01
Using volume group(s) on command line.
Wiping cache of LVM-capable devices
Couldn't find device with uuid 8dJYyk-AXwi-scKb-11bs-ta5j-04gL-Njk7x8.
There are 1 physical volumes missing.
--- Volume group ---
VG Name vg_dfs01
System ID
Format lvm2
Metadata Areas 8
Metadata Sequence No 2
VG Access read/write
VG Status resizable
MAX LV 0
Cur LV 1
Open LV 1
Max PV 0
Cur PV 9
Act PV 8
VG Size 2.00 TiB
PE Size 4.00 MiB
Total PE 524276
Alloc PE / Size 460800 / 1.76 TiB
Free PE / Size 63476 / 247.95 GiB
VG UUID LOhcmw-9t25-cMZZ-wXUp-IAGL-A6Eb-jowUP8

--- Logical volume ---
LV Path /dev/vg_dfs01/lv_data01
LV Name lv_data01
VG Name vg_dfs01
LV UUID TY6HXy-o7bk-XuKK-J23O-BSK6-mZ6t-tbNIug
LV Write Access read/write
LV Creation host, time server1, 2015-11-22 07:44:49 +0800
LV Status available
# open 1
LV Size 1.76 TiB
Current LE 460800
Segments 8
Allocation inherit
Read ahead sectors auto
- currently set to 256
Block device 253:0

#卸载卷组的逻辑卷LV
# umount /dev/vg_dfs01/lv_data01

#删除卷组VG
# vgchange -a n vg_dfs01
# vgremove vg_dfs01

#删除物理卷PV
# pvremove /dev/sdb1
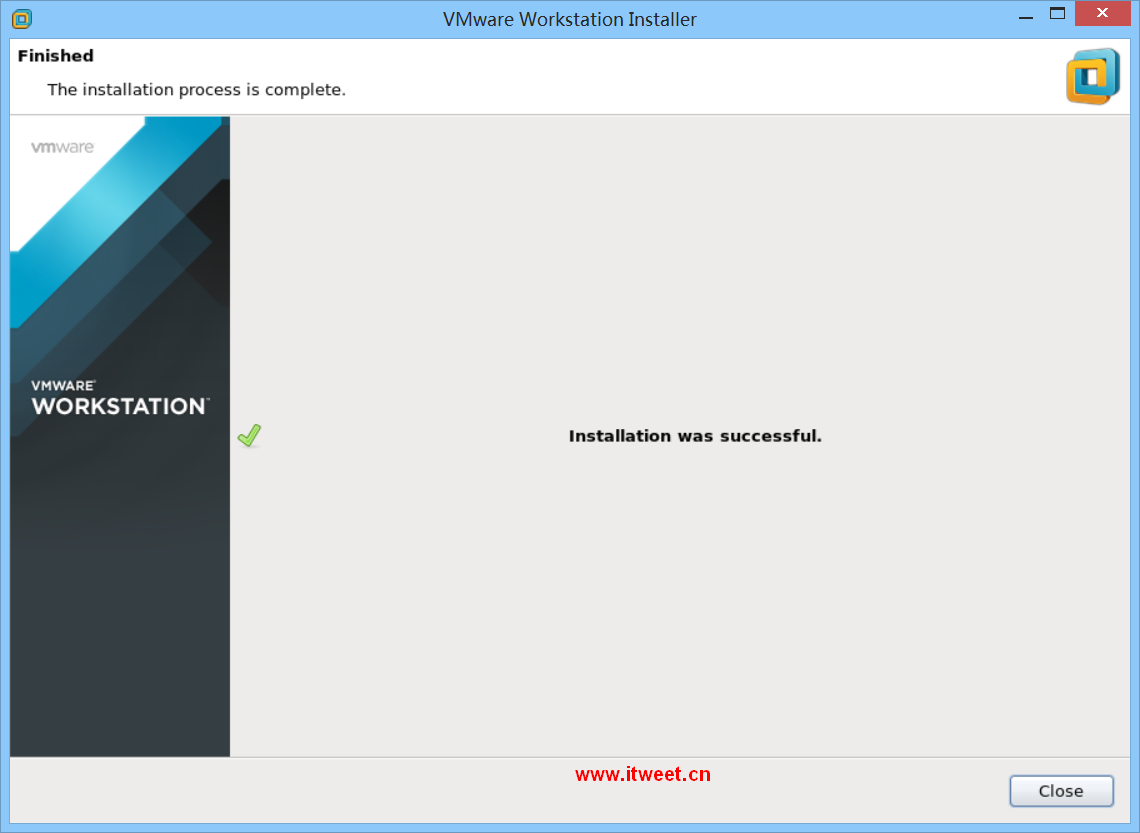
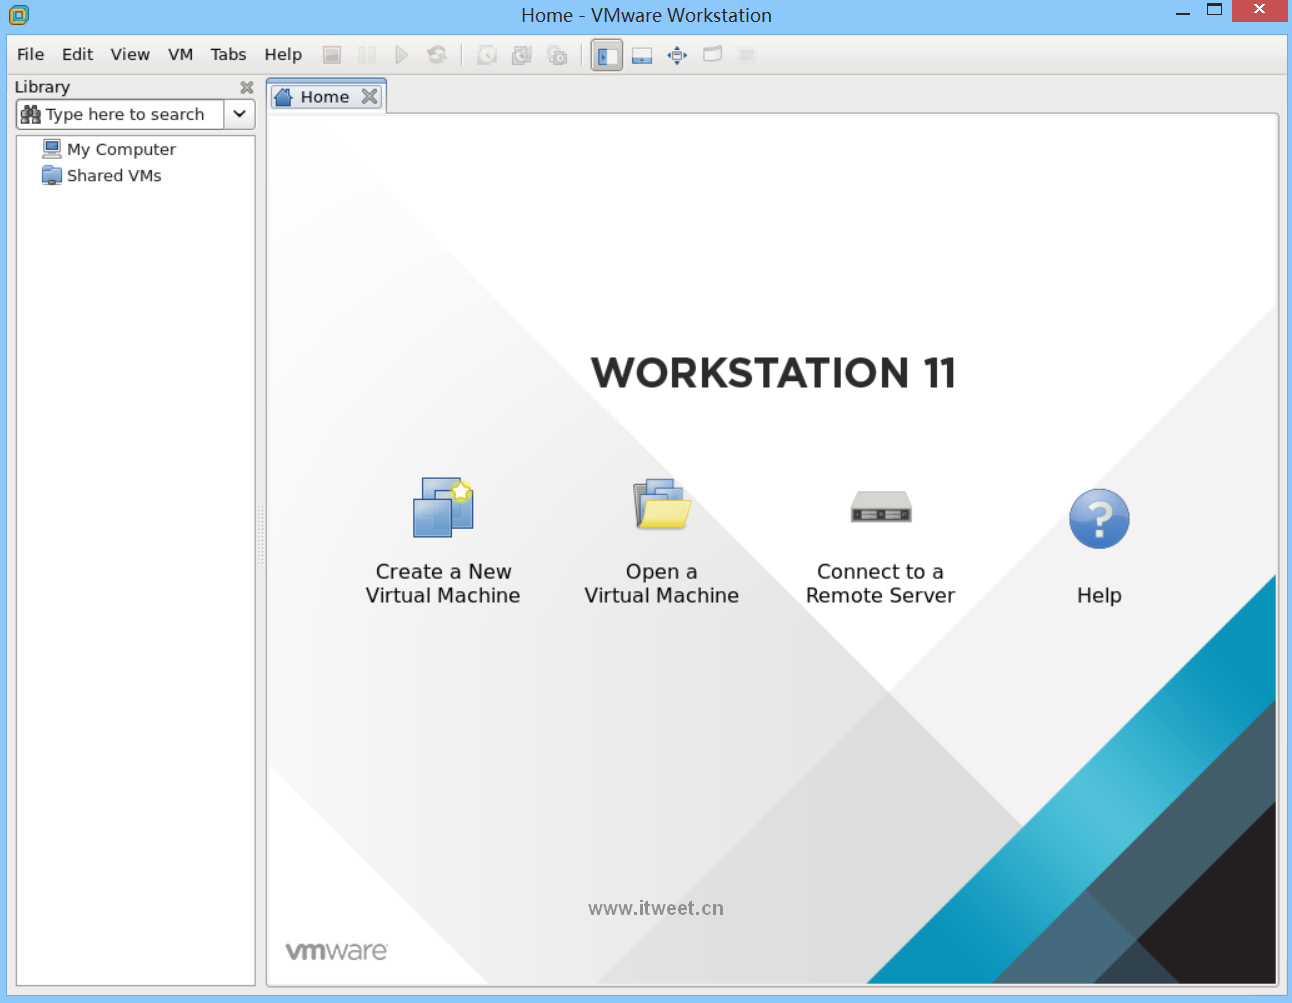
Conclusion

Congratulations everything has done successfully, you should use in-deep the new features of the NEW edition of VMware Workstation, Do your labs and across Virtualization Ocean, GOod LuCk..

FAQ

1、VMware-Workstation-Full-12+以上的版本,在redhat6.7/centos6.7/Fedora23无法安装成功,报错信息为内核不支持,,在社区反馈过,至今没修复,在7版本未尝试,是否支持。

报错信息类似:
kernel-headers,Kernel-devel没有找到,特定去安装之后,依然无法解决。

2、VMware-Workstation-Full-11.0.0版本,可以正常在redhat6.7/centos6.7版本运行。